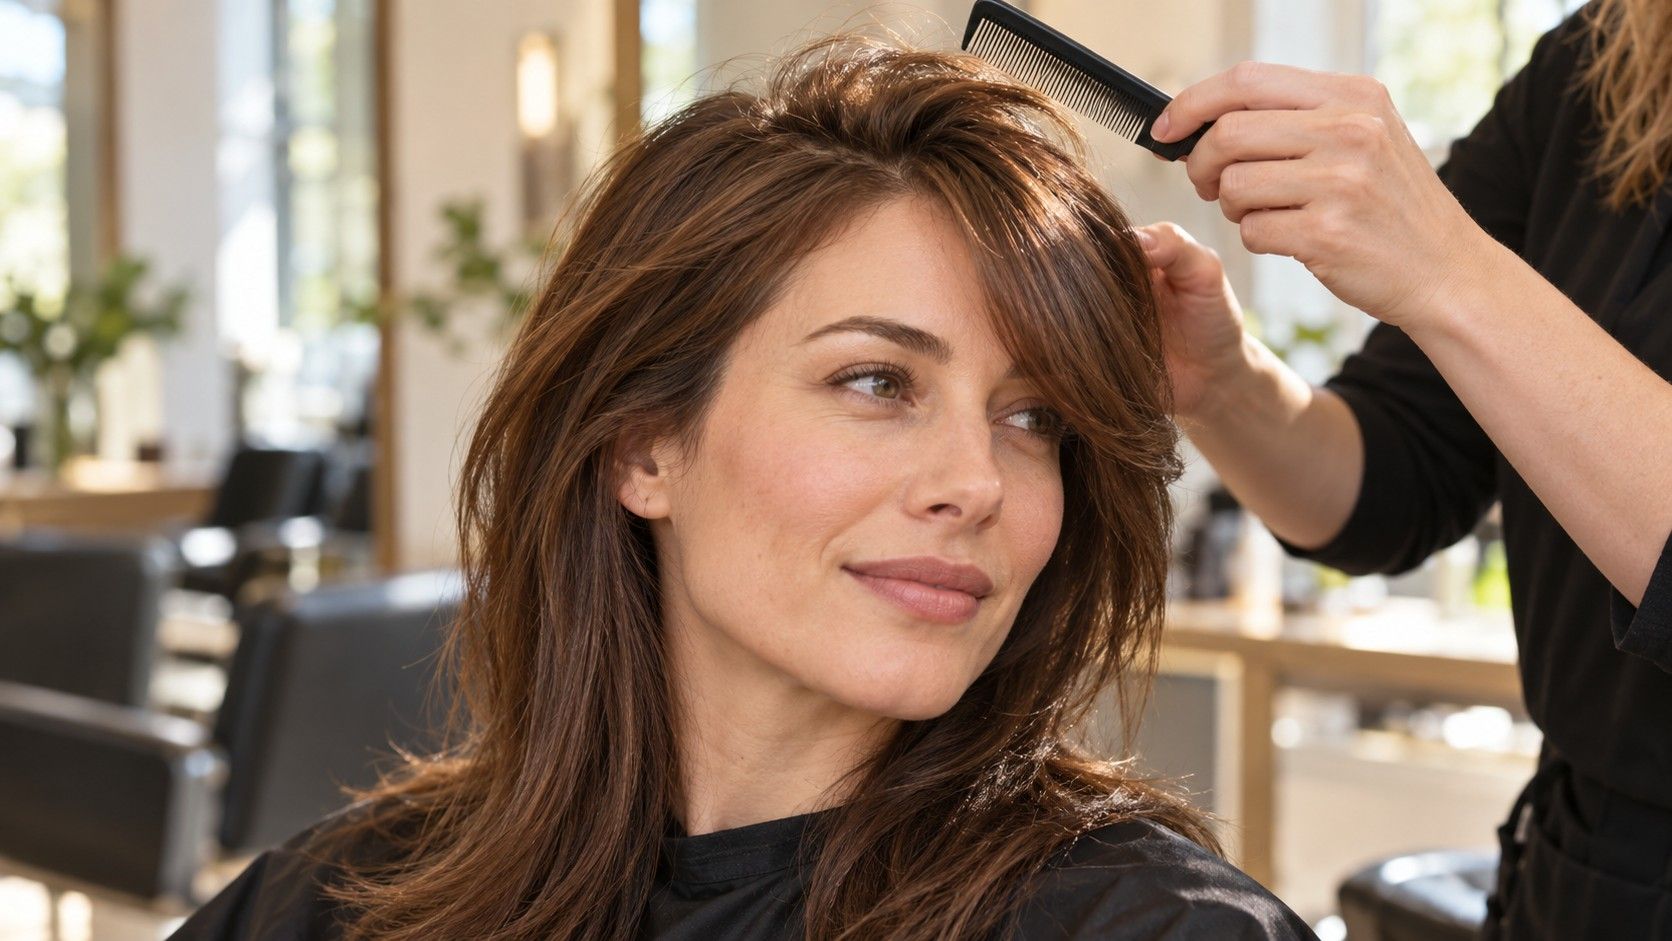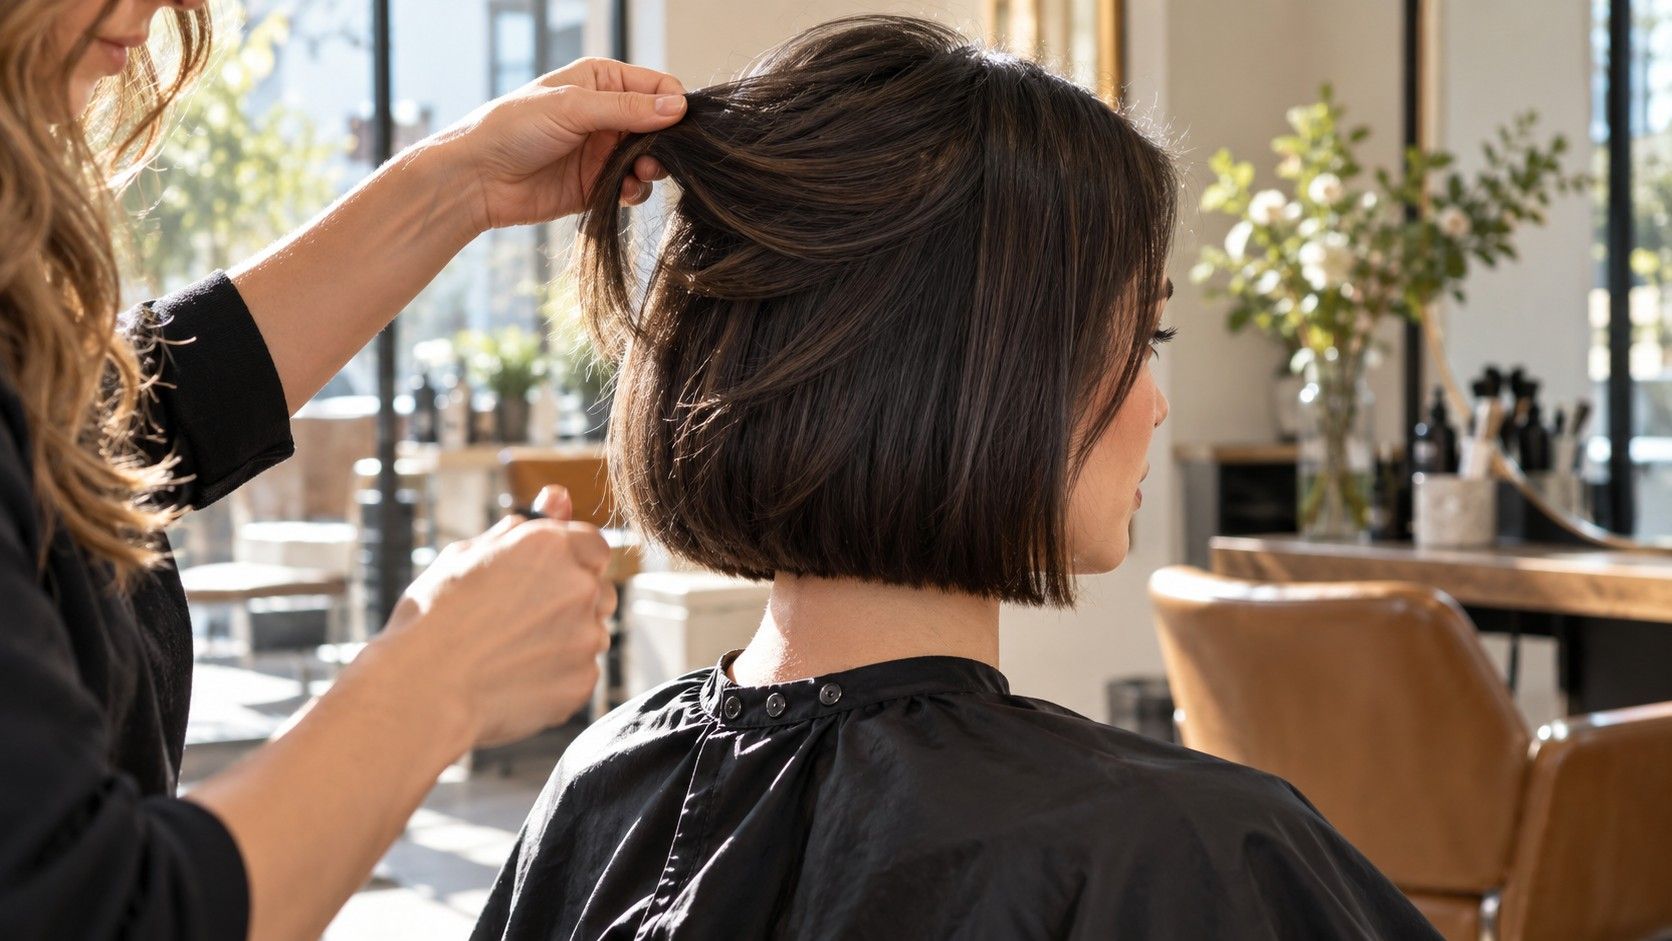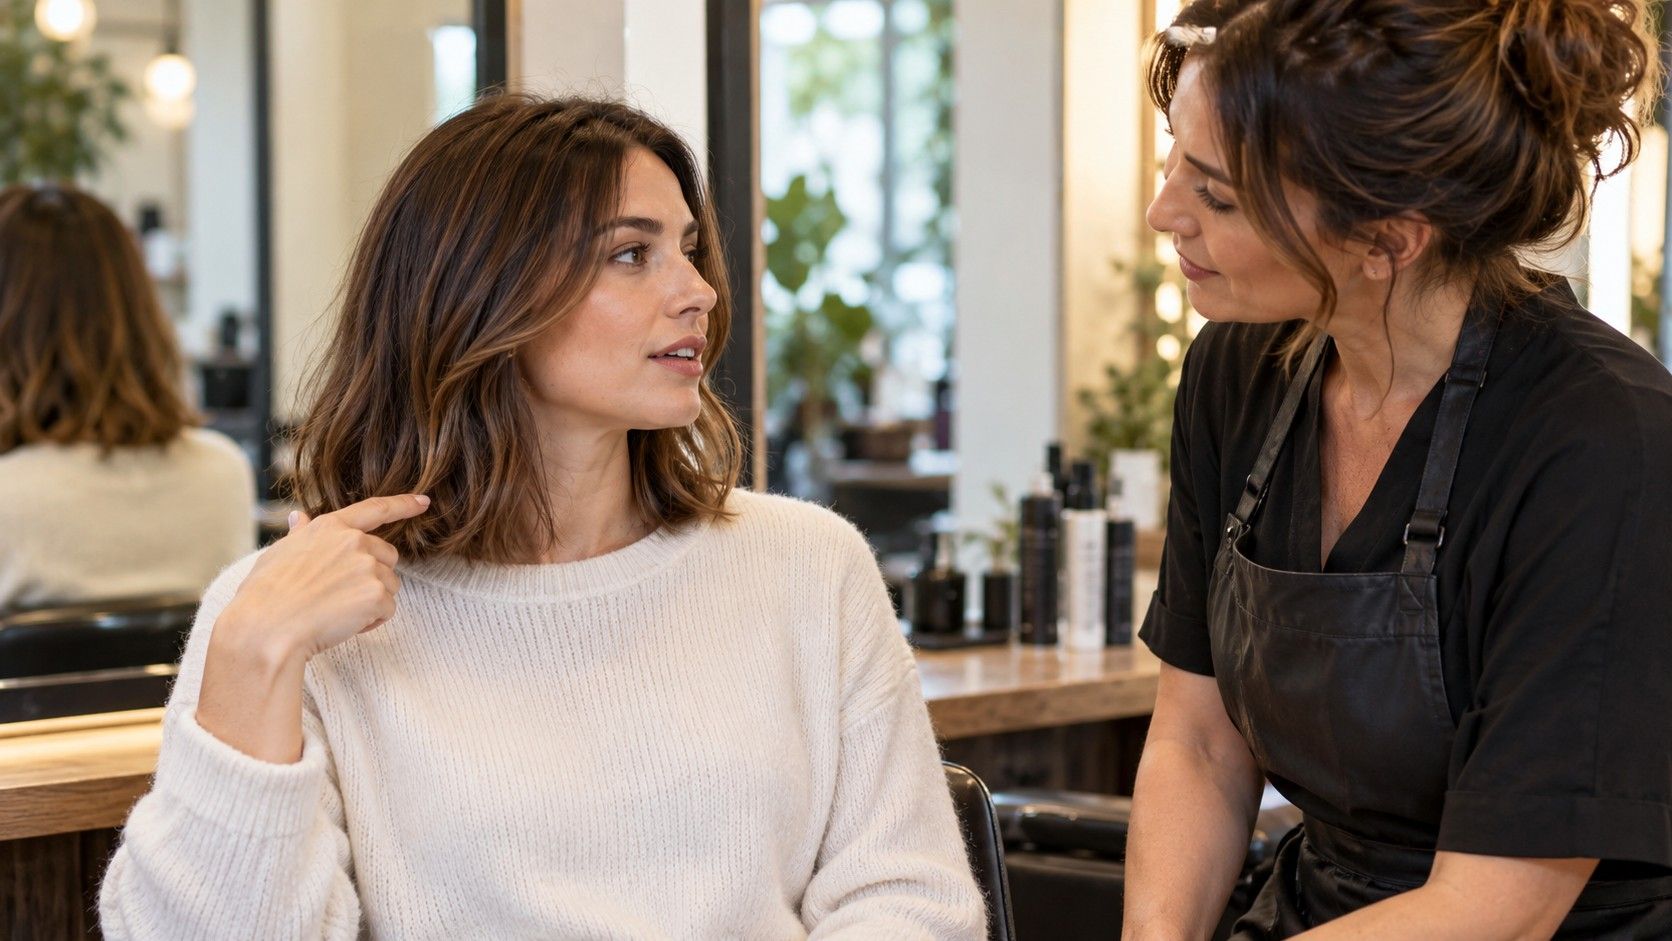
A good haircut photograph can make a salon conversation much easier, but it rarely explains the whole cut. A turned head may hide one side; loose waves may conceal the length of the layers; hair tucked behind an ear can make a bob look narrower than it is. Choose pictures that show the decisions you want to make, then add a few clear notes about how you need the haircut to work on your own hair.
Pick a reference with a useful view of the cut
Start with an image in which you can see the outline. Look for the lower edge, the area around the ears and the shortest pieces near the face. A photograph with a hand lifting the hair may show attractive movement while hiding the resting shape. A scarf, high collar or dramatic head tilt can obscure exactly where the ends land. Keep that picture if you like it, but find a clearer companion before using it to agree on length.
A level front view is useful for fringe width and face-framing pieces. A side view helps show how the front connects to the back. A rear view reveals the neckline and the shape of the perimeter. These do not have to come from one perfectly matched photo set, but tell the stylist when they show different haircuts. Explain which detail each picture represents rather than implying the three views describe a single cut.
Check whether you can zoom in enough to see the ends. A tiny screenshot may hide heavy layering or make a soft edge appear blunt. Save the clearest version available to you and make it easy to find at the appointment.
Notice the direction in which the person is looking. When the chin is tucked, a bob can appear to sit higher against the neck; when the head turns, one side can seem longer. Avoid measuring the intended cut by a single distorted view. Use recognizable landmarks on yourself, such as the jaw, the base of the neck or the collarbone, when discussing where your finished outline should sit.
Compare texture and density before copying the shape
Hair texture affects what happens between the cut and the finished photograph. A blunt edge on straight hair may form a more irregular outline on waves. A rounded curly silhouette may depend on the way individual curls have been arranged. Look for references close to the texture you normally wear, especially if you want to keep your existing routine.
Compare density at the ends as well as at the roots. A picture may show a full, solid bob while your lower lengths are much lighter. Shortening can change the appearance of the edge, but the photograph cannot tell you how much fullness your own haircut would retain. Ask the stylist what can be preserved and what would need to be adjusted. Avoid treating the pictured thickness as an automatic consequence of choosing that style.
Watch how much hair has been allocated to a fringe. A dense fringe and full side sections may be possible on the person in the picture, while your own density calls for a narrower front section or a different edge. Ask to see the proposed section before cutting. That makes the trade visible while there is still room to change it.
Bring a current photograph of your own hair on a normal day. If you arrive after a special blow-dry, the photo can show the stylist your usual wave pattern, parting and volume. Include any recurring issue you want the cut to address: a side that bends outward, a crown that lies flat or ends that look too separated. Describe what happens rather than relying only on labels such as fine, thick or unruly.
Use old photographs of your own hair selectively. They can show a shape you enjoyed or a length that worked, but note what has changed since then. Your current length, color history, texture and styling habits may differ.
Separate the haircut from curls, extensions and lighting
Ask what attracts you first: the edge of the haircut, the movement through the lengths or the polished surface. Those features can come from different choices. A shoulder-length style curled away from the face may look shorter and fuller than the same cut worn straight. If the waves are the part you love, discuss whether you want to create them regularly before agreeing to the cut underneath.
A photograph cannot reliably reveal every extension, hairpiece, edit or styling technique used. Do not decide that a particular person has any of these simply because their hair looks full. Keep the uncertainty visible instead. Ask whether the density and length shown are realistic for your starting hair, and whether another reference would better represent the result you could maintain.
Lighting changes the appearance of texture and edges. A dark background can make dark ends hard to see; light shining through the hair can emphasize separation. Highlights may make a layered shape easier to read, while a dark, smooth finish can conceal the same divisions. Look at the actual outline and parting before deciding the cut is much fuller or simpler than your own.
Check for a tucked or pinned side. The neat shape beside the cheek may come from moving the hair behind the ear rather than cutting it close. A tucked style can still be an excellent reference, but ask to see how the side would sit loose. If you need the front to stay tuckable, make that a length requirement instead of assuming the picture already proves it.
When a reference depends on substantial styling, ask for two descriptions: how the cut will look with your ordinary routine and what is involved in reaching the photographed finish. You can then decide whether that difference is acceptable.
Show what you dislike as clearly as what you want
Choose one main reference and explain its appeal in a short sentence. “I like the full lower edge and the open area around the cheeks” is clearer than “I want this.” If you love the length but dislike the fringe, say that immediately. Otherwise the stylist has to infer which parts of the picture are instructions and which are incidental.
A second photograph can show an alternative you would accept. Keep the difference specific: a slightly longer perimeter, a softer front or fewer short layers. If the alternative changes length, fringe, texture and color all at once, it creates another whole proposal rather than clarifying the first. Limit the album to pictures whose role you can explain.
An unwanted detail is often easier to name when you can point to it. You might dislike a hollow-looking lower edge, a heavy shelf at the back or short pieces that cannot be tied away. Talk about the feature without judging the person wearing it. This makes the discussion practical and gives the stylist a boundary to work within.
Leave room for the stylist to explain a conflict between your pictures. A very dense perimeter and extensive short layers may not combine on your hair in the way the two separate images suggest. Ask which feature should take priority. Agreeing that the ends should stay full, even if that means less movement, is a concrete decision that a collection of attractive photographs cannot make for you.
Agree on length and daily styling before the first cut
Show where the finished dry hair should land on your own body. Words such as short, medium and a little off do not give both people the same measurement. For curls or waves, discuss the dry resting position rather than only the stretched length. If you are uncertain, ask to begin conservatively and review the shape before deciding whether to remove more.
Explain the functions you need to keep. A ponytail requires enough length in the relevant sections, not simply a long back. Tucking behind the ears depends on the front pieces. Wearing the hair off your forehead may conflict with a short fringe. Demonstrate your usual tie-back or tuck so the stylist can identify the shortest layer that would affect it.
Describe your daily styling honestly. If you usually wash at night and let the hair dry naturally, say so before discussing a precision finish shown after a salon blow-dry. If you enjoy styling with a brush or diffuser, mention that too. The goal is to choose a cut with an understood routine, including how it behaves on a morning when you do less.
Ask about maintenance in relation to the feature you are choosing. A defined fringe can start bothering you before the rest of the length feels overgrown; a close neckline may lose its outline while the front still looks settled. Discuss which changes would signal that a trim is useful. You do not need to agree on an exact calendar interval from a photograph alone.
Before cutting begins, repeat the main decisions in ordinary language: the dry length, the shortest front piece, the amount of fullness to keep and the styling routine you expect. Ask the stylist to explain any planned departure from the reference.