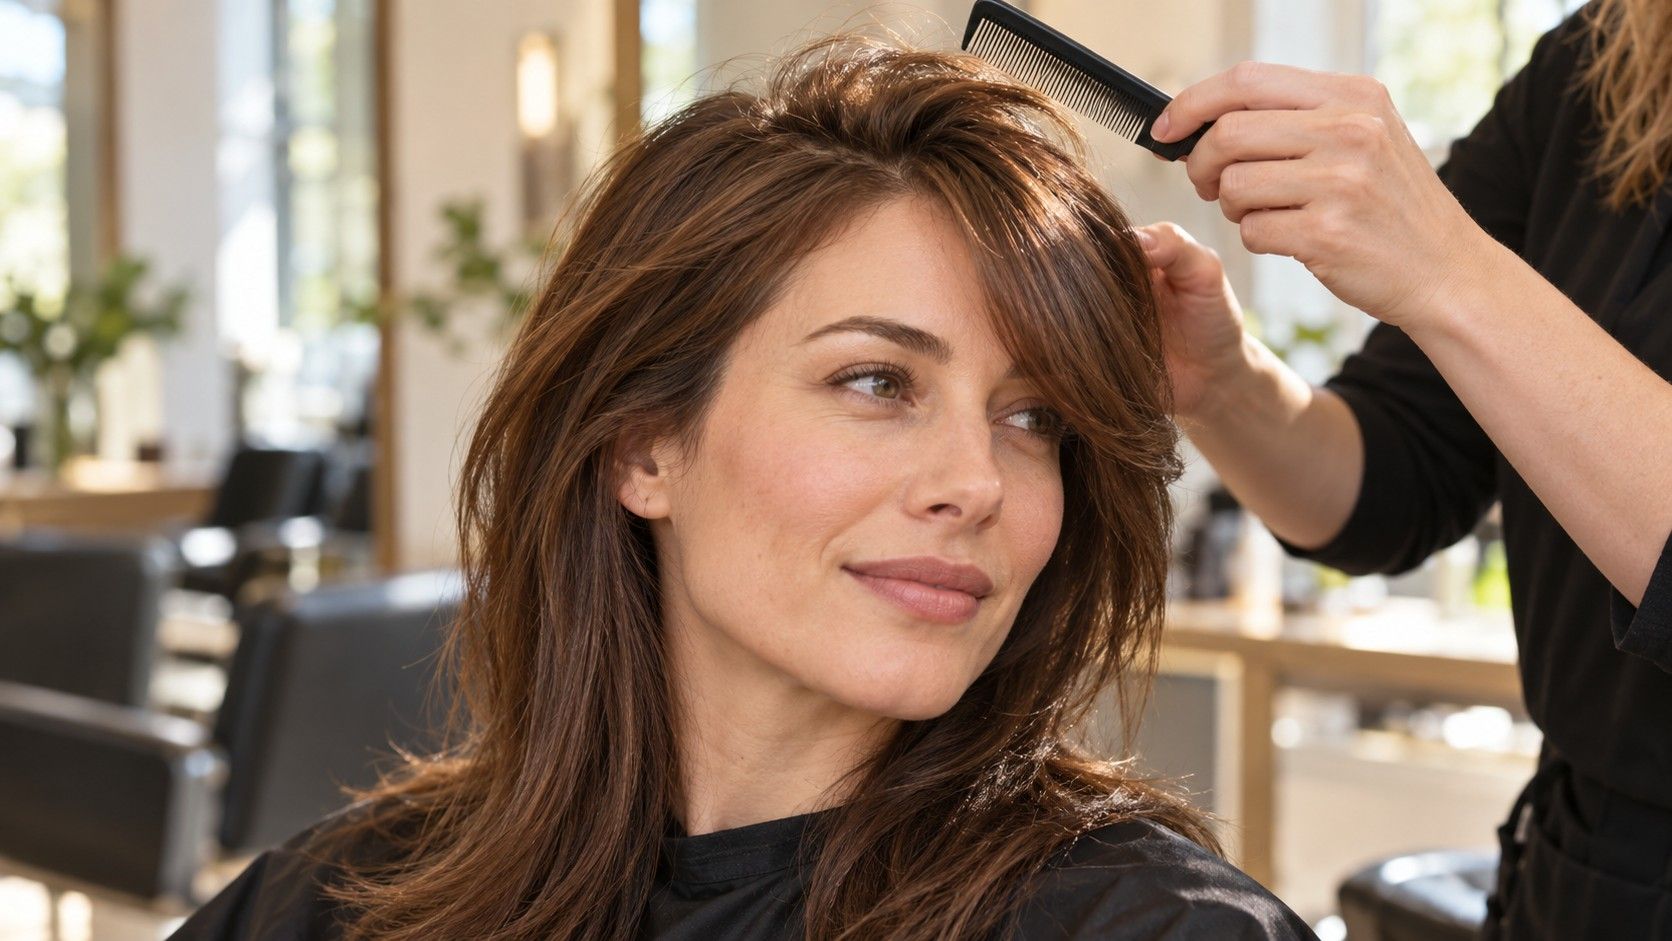
You can want movement through long hair and still want a solid line across the bottom. The difficulty is deciding how much hair can leave that line before the ends start looking sparse. A useful plan separates the overall length, the shortest layer and the shape around the face. Before the appointment, look at your hair loose, tied back and dried in its usual way so the request describes your actual routine.
Separate a lighter shape from a shorter perimeter
The perimeter is the outside edge of the haircut: the line you see at the bottom when the hair falls naturally. Layers create differences in length within the shape. Asking to keep the overall length does not, by itself, explain how full you want the bottom to remain. You can leave the longest strands untouched and still remove enough hair above them to change that edge considerably.
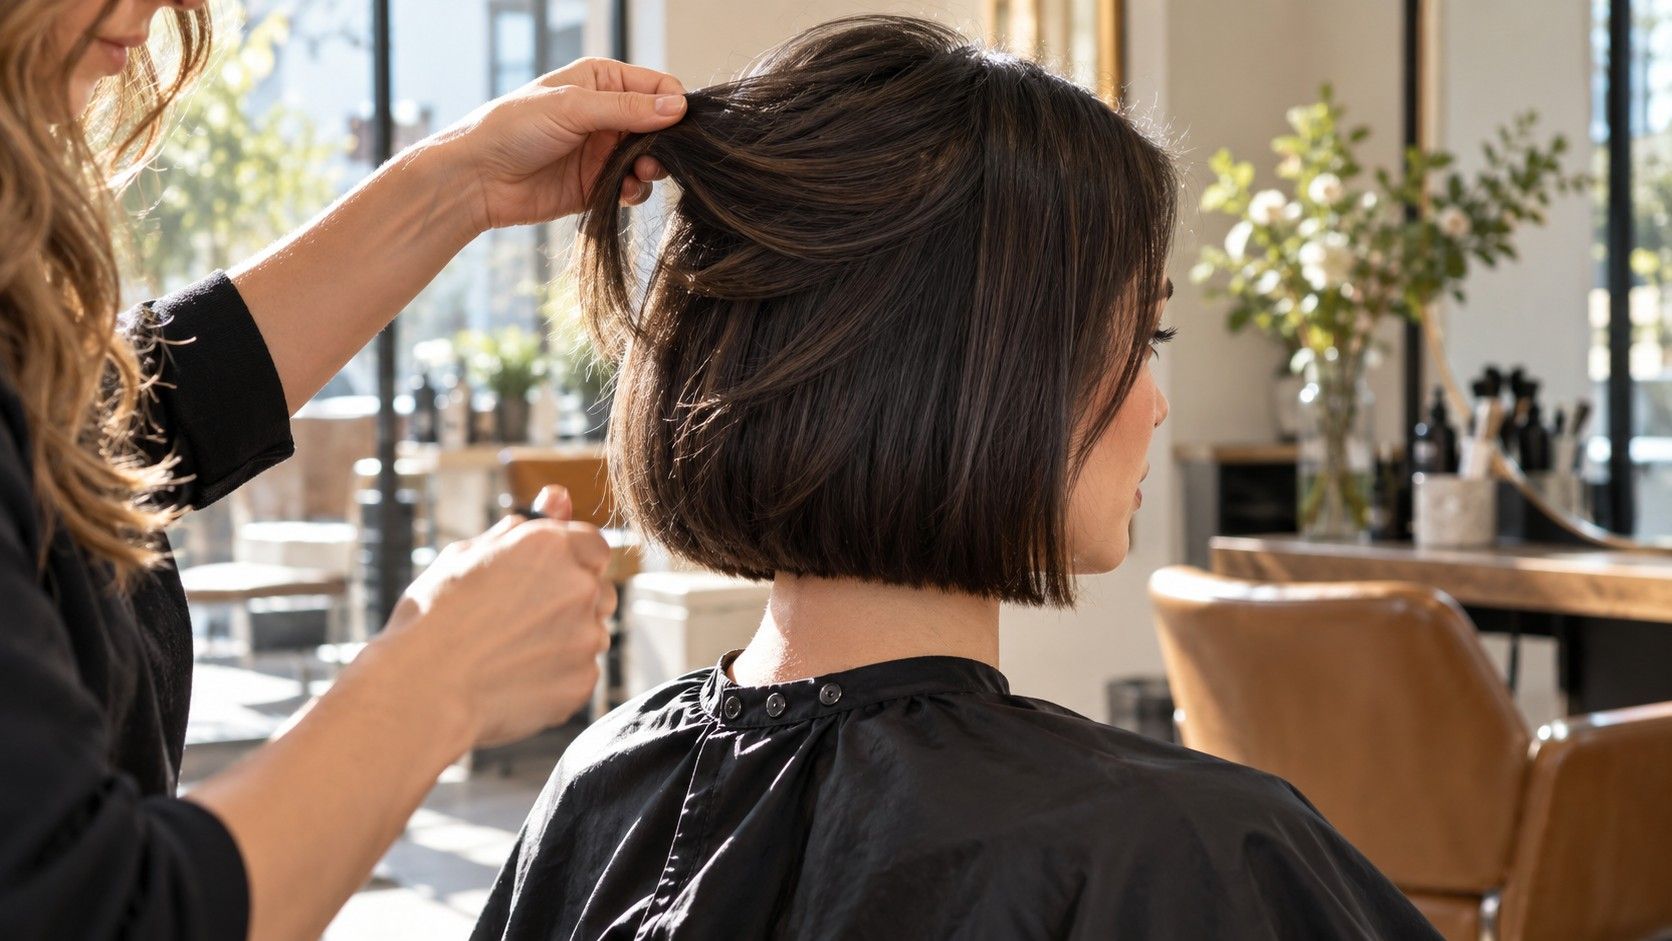
Show the stylist the lowest line you want to keep, then describe its density. Do you like a compact, almost blunt edge, a shallow curve or a longer central section with a softer outline? Look at a back-view photograph rather than judging only the pieces over your shoulders. Hair swept forward can make the ends look fuller because it gathers strands from several areas into a small space.
Explain what feels heavy. It may be bulk behind the ears, a wide triangular outline or front sections that hang without shape. Those are different problems. A long layered haircut should address the area that bothers you, rather than remove weight everywhere simply because you asked for movement. Ask the stylist to identify which sections would change and how that affects the line below them.
A modest first cut can be useful when your priority is preserving length. Agree on a limited change, then assess it after your normal drying routine. More can be adjusted at a later appointment, but removed length cannot be put back. This matters most when the starting ends are already fine or uneven and you are hoping layers will disguise them.
Choose where the first visible layer should land
“Long layers” is a broad description. One person means a little softness near the bottom; another means face-framing pieces that begin at the cheek. Name a landmark for the shortest visible section, such as below the jaw, near the collarbone or closer to the existing ends. Let the stylist translate that preference into a shape that works with your hair.
Separate the front from the rest. A jaw-length piece beside your face does not necessarily mean you want layers that short across the back. Ask to see where the front section will join the longer lengths and whether it will remain loose when you tie your hair up. A narrow face frame may deliver the change you want without requiring the same degree of layering throughout.
Check the distance between the shortest and longest lengths. A large difference can look dramatic when curled and more separated when straight. If your preferred photograph shows a cascade of bends, imagine where each section would end without the styling. Ask for an uncurled reference or a demonstration on your own hair before deciding that the haircut alone creates that finish.
Wear your usual parting to the consultation. Changing it can move front pieces across the face and alter how short they appear. If you switch sides during the week, mention that before the cut. You may prefer a shape that tolerates either parting over a precise face frame that looks balanced only when placed in one particular direction.
Keep fine ends from becoming disconnected
Hair density and strand thickness are different considerations. You can have fine strands with plenty of hair, or thicker strands with less hair contributing to the perimeter. Describe what you see rather than relying on a label: whether the lower section looks transparent against a pale shirt, whether the sides seem thinner than the back, or whether the ends gather into only a few separated pieces.
Ask how the proposed layering preserves enough hair at the bottom. If a reference has very full ends, compare its apparent density with yours before choosing the same amount of layering. A finished image may also use styling or added hair that is not visible in the picture. Unless you know how it was made, treat it as a shape reference rather than a promise of fullness.
Discuss any extra texturizing as a separate choice. “Make it lighter” can be interpreted as changing the layers, softening the perimeter or removing bulk within a section. You do not need to choose a cutting tool yourself. You do need to explain that you want the ends to keep looking connected when worn straight, and ask how the stylist plans to preserve that effect.
If the current ends already look thin, there may be a tradeoff between maximum length and a denser-looking edge. Ask the stylist to show you where the outline begins to look more substantial. You can choose how much to remove after seeing that point. Keeping every last centimetre and getting a visibly fuller perimeter may not both be possible in the same appointment.
Check the front sides especially carefully. Long hair can look full from behind while the sections near the face have much less length or density. A deep face frame may make that difference more obvious. Ask whether a smaller front section or a longer starting point would give the movement you want while leaving more hair at the sides.
Check the shape on your natural wave
Layers do not fall identically on straight hair and on waves. A section that ends near the shoulder when stretched can sit higher when it dries and bends. Bring a photograph of your usual dry hair if you arrive with it smoothed or tied back. Show the stronger waves at the nape or around the face, not just the section that behaves best.
Notice where your waves naturally turn outward. A layer that finishes at a bend may create a different silhouette from one that falls below it. The stylist needs to assess that in person; a ruler measurement cannot predict every strand. Ask how the finished cut is expected to sit without a round-brush blow-dry and which areas may need a small amount of daily adjustment.
Drying habits matter as much as the reference photograph. If you usually wash at night and leave your hair loose, say so. If you always straighten it, say that too. A layered cut chosen for an airy curled finish can feel disappointing when your normal routine produces a flatter shape. Choose the version you are willing to maintain through an ordinary week.
Before the appointment ends, look at the outline after the hair has been dried as close to your usual finish as practical. Check the sides against your shoulders and the back in a mirror. Ask how to distinguish a section that needs styling from an area that may need adjustment. You should leave knowing what the cut can do on its own and what the polished finish adds.
Bring references that show the back as well as the front
Choose references for separate, visible reasons. One can show the full ends you want; another can show the amount of movement near the face. Explain the difference so the stylist is not asked to reproduce incompatible features at once. Two or three clear images usually make that conversation easier than a long gallery of slightly different styles.
A back view reveals the perimeter and the relationship between the longest and shorter sections. A side view shows whether the front is connected smoothly or has a pronounced step. A front view helps explain how much face framing you want. If your references show only a curled front, admit the missing information and ask to see comparable shapes from other angles.
For long layers with full ends, bring a short list of practical boundaries: the minimum length you want, where the shortest front section may land and whether a ponytail must contain most of the hair. Include a photograph of your own hair on an ordinary day. A digital preview can help you test a silhouette, but it cannot measure your density or establish how the layers will fall.
Discuss maintenance before settling the final shape. Ask which part is likely to need attention first: the front pieces, the perimeter or the overall balance. There is no single trim schedule that fits every length and routine. Make the next appointment decision around how the haircut behaves and how much growth you are comfortable wearing, rather than copying a timetable from someone else's style.
During the final mirror check, let the hair fall naturally and move your head gently. Look for an outline you like without arranging every strand into place. Confirm how you can tie it back and what happens when you move the parting. Those small checks connect the reference photo to the way you will actually wear the cut tomorrow morning.