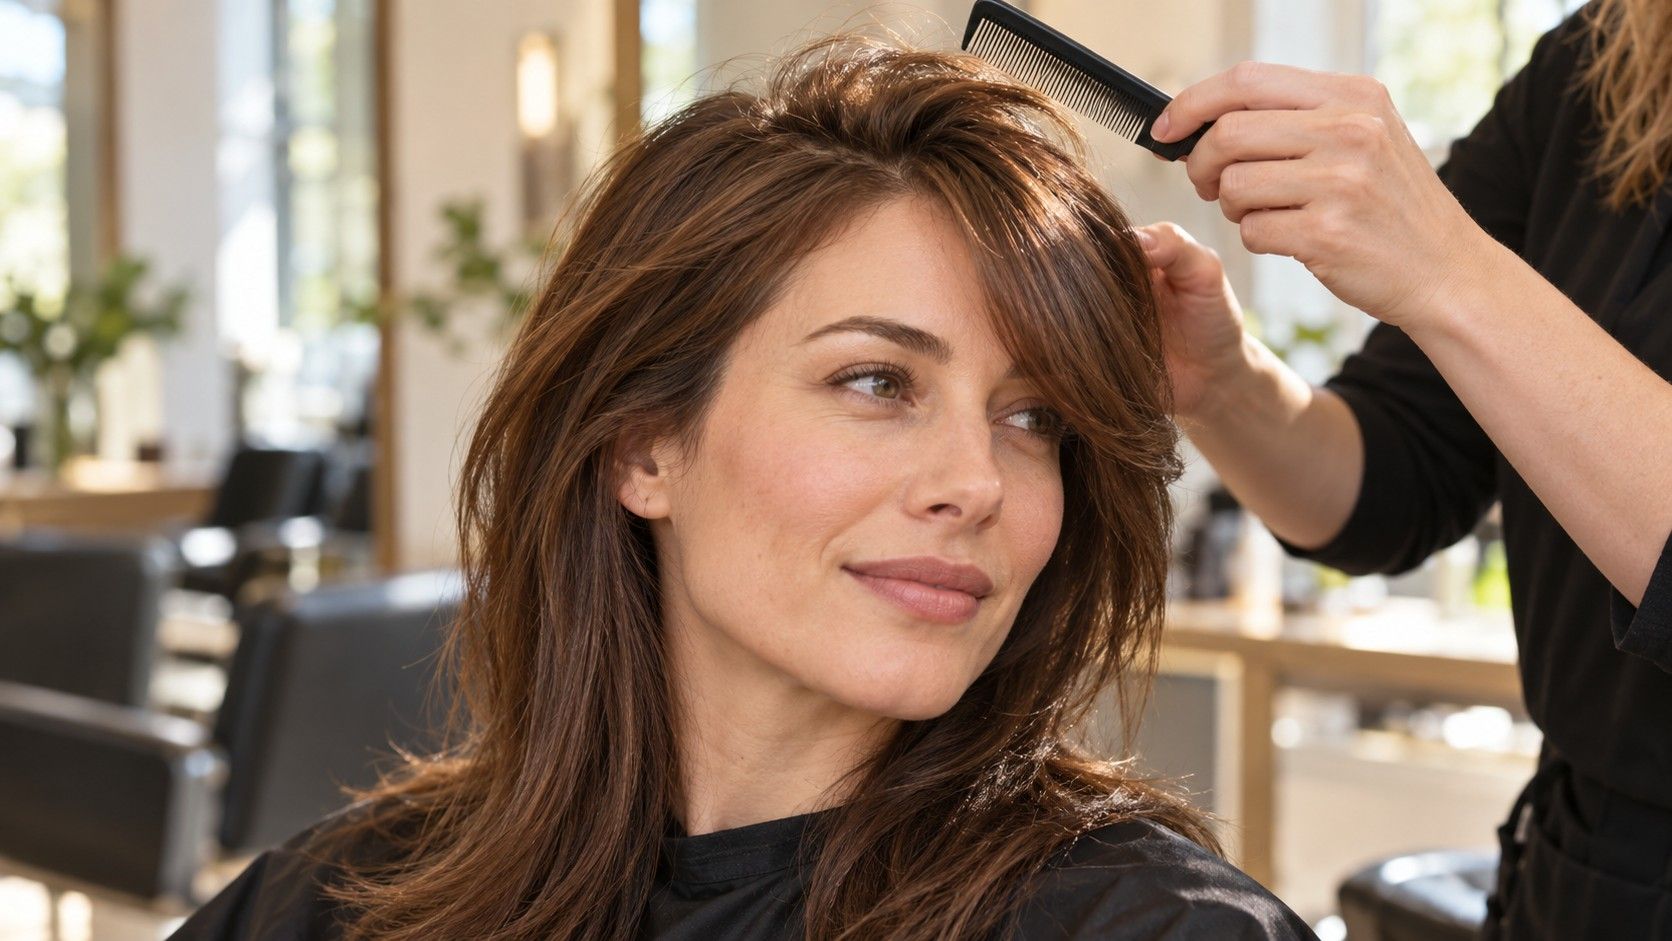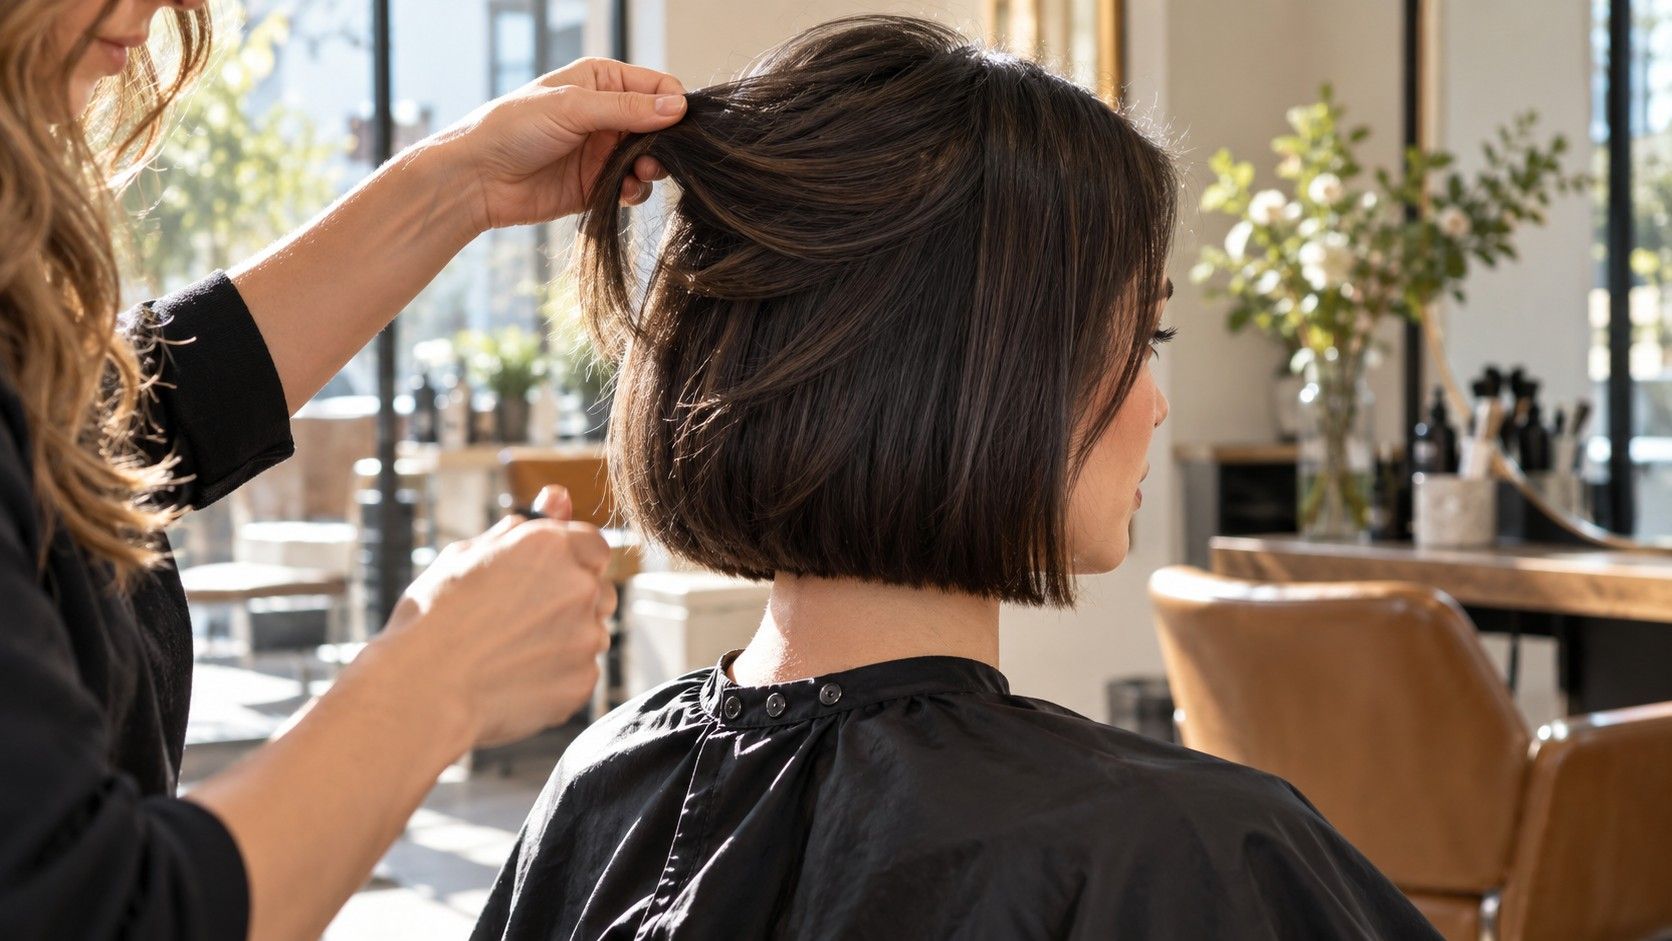
A soft shag can mean a little movement around the face or a much more layered shape with a short crown and fringe. On wavy hair, that difference matters once the salon styling has washed out. Start with the way your waves sit on an ordinary day, then choose how much length, separation and volume you want to add. The best reference is one you can describe in practical terms, including the parts you would rather leave out.
Check where your waves bend before choosing layers
Look at your hair dry before brushing it into a different shape. Notice whether the first bend begins near the roots, around the ears or lower down. Compare the front, crown and nape; they may not behave alike. Photograph the side and back as well as the front so a stylist can see what happens after your normal wash and drying routine.
A layer may sit higher than its stretched length suggests because a wave lifts the end. This is especially relevant near the face, where a small change in length can move a piece from below the cheek to beside it. Point to where you want the section to rest when dry. Ask the stylist how that compares with the length they expect to cut, rather than choosing by centimetres alone.
Think about the existing perimeter before adding layers. If you like a solid shoulder-length outline, say that you want to retain it. If your priority is a lighter, more broken-up edge, show how much separation you mean. A wavy shag haircut can vary greatly in the amount of hair left at the bottom, and a front-view photograph may conceal a much narrower shape at the back.
Bring your natural texture into the consultation even if you prefer a styled finish for the appointment. A photograph taken after air-drying is useful when your hair arrives blow-dried. Mention any sections that stay straighter or wave more tightly. The aim is to design around that unevenness with realistic expectations, rather than assume every part of your head will behave like the best curl in a reference image.
Decide how much crown volume you actually want
The crown is often where a soft shag becomes a more noticeable change. Shorter layers there can alter the silhouette, but the amount of lift depends on hair texture, density and styling. Do you want the top to look fuller when viewed from the side, or mainly want the lower lengths to move more freely? Those requests can lead to different cuts.
Use a side-view reference to explain the balance. A photograph taken from the front can hide a very raised crown or a long, narrow back section. Cover the fringe in the reference and look at the remaining outline. If you still like the cut, the shape itself is probably part of the appeal. If the attraction disappears, you may want a fringe and face frame more than a fully layered shag.
Ask where the shortest crown layer will sit and what it will do when left to dry naturally. If you dislike loose pieces escaping from a bun, bring that up before cutting. A shorter top section may need pins or a different way of tying back. For some people that is an easy tradeoff; for others it becomes an everyday irritation at work or during exercise.
Be clear about the difference between a soft outline and a heavily separated finish. A photo with distinct, piecey ends may have been styled to emphasize them. Ask how much of that effect comes from the cut and how much from the finish. You can prefer gentle layering without wanting every section to stand apart. There is no need to agree to a more dramatic shape just because it shares the same name.
Choose a fringe that fits your parting
A fringe changes the daily routine even when the rest of the cut is relaxed. Look at how the hair at your forehead naturally grows and separates. If you have a strong parting or a section that lifts away from your face, show it to the stylist. A digital preview with perfectly placed strands cannot tell you how easily your own fringe will settle there.
Decide whether you want a centre opening, a fuller section across the forehead or longer pieces that move to the side. Use landmarks such as the eyebrows, bridge of the nose and cheekbones to describe the resting length. Wavy hair may lift as it dries, so discuss the dry position and the amount of forehead you want visible before the cut begins.
Consider your actual habits. Glasses can push front pieces outward; tucking hair behind your ears changes the face frame. A fringe that looks right with hair loose may feel very different when the rest is tied back. Show both arrangements at the consultation. Ask which sections will reach behind the ears and which will need to remain loose.
If you are unsure, discuss a longer starting point. It can help you learn how the front behaves without immediately committing to the shortest version in the photograph. That still needs an intentional shape; leaving random long pieces is not a substitute for planning. Ask how the fringe will join the side layers and what small amount of styling, if any, the proposed version is likely to need.
Make room for a fringe-specific maintenance conversation. The front may reach an awkward point before the rest needs attention. Ask how you can wear it as it grows and when a professional adjustment would be useful. Avoid choosing a length that you already expect to trim yourself within days just to keep it out of your eyes.
Compare air-dried and styled reference photos
A soft shag haircut photographed with a diffuser, shaped fringe and carefully separated waves may look effortless while involving several styling steps. You do not need to reject that finish. You need to know whether you are willing to repeat enough of the routine to enjoy the result. Ask what the image shows and seek a less arranged example of a similar cut.
Compare the outline before inspecting individual waves. Are the ends still dense enough for your preference? Does the widest point sit near the cheek, ears or shoulders? A styled image may have volume concentrated exactly where a natural finish falls flatter. The cut can influence the shape, but it cannot guarantee the same distribution of volume on every head of hair.
| Your usual routine | Useful reference to bring | Question for the stylist |
|---|---|---|
| Mostly air-drying | A similar cut with a less arranged wave pattern | How will the shortest sections sit without shaping each wave? |
| Diffusing after washing | Views showing the crown and perimeter after drying | Which areas need attention to achieve this outline? |
| Smoothing the fringe only | A mixed finish with natural lengths and a controlled front | How can the fringe connect to the waves at the sides? |
| Frequently tying hair back | Loose and tied-back views of a comparable shape | Which layers will escape and how can they be managed? |
Be specific about styling time without treating it as a promise. Tell the stylist which steps you already use and which ones you would avoid. Someone who happily reshapes a fringe may still dislike diffusing the full head. Ask for a demonstration of the most relevant technique on your own hair and try the movement yourself if practical.
If you use a hairstyle preview, keep the face and color similar while comparing different layer patterns. Notice whether the output changes your hairline or makes the wave pattern unnaturally uniform. Use it to communicate the overall silhouette, then return to real hair references for texture and maintenance. A convincing picture does not establish how your hair will respond to the cut.
Keep the outline workable as the layers grow
Ask what will change first as the cut grows: the fringe may feel heavy, the crown may sit flatter or the perimeter may begin to look narrow beside fuller sides. Your preferences decide when that becomes a reason for a trim. There is no fixed maintenance interval that makes sense for every soft shag, especially across different starting lengths.
Discuss a growing-out route before choosing very short sections. If you might return to a bob or a simpler long cut, ask which layers will take longest to meet the perimeter. A less extreme difference between top and bottom lengths may fit that plan better. The immediate photograph matters, but so does how you want to wear the hair over the next several months.
At the final mirror check, look at the back with the hair resting naturally. Turn gently to see the side outline and let the front fall where your normal parting takes it. Check the ends against a contrasting top. If they appear more separated than you expected, describe that while the stylist can assess it with you.
Keep a photograph after your first ordinary wash at home. Record what was easy, what needed extra effort and whether you liked the crown once it had settled. That gives your next consultation useful detail: “the front worked, but the sides felt too light” is actionable. Over time, those observations help you choose how much shag shape you want to keep and which layers need a quieter approach.